
This article has been machine-translated from Chinese. The translation may contain inaccuracies or awkward phrasing. If in doubt, please refer to the original Chinese version.
Due to business requirements, I started learning React Native in preparation for upcoming needs. Although I had used RN before, the project setup was always handled by pre-built scaffolding, so I didn’t know much about the fundamentals. I decided to document the process of setting up an RN project from scratch, along with some resource collection.
Suitable for: People with front-end development experience and a basic development environment who want to learn about setting up RN projects with Expo
RN Resources
- Official website: Site Unreachable
- Chinese website: 简介 · React Native 中文网
- Expo official website: Expo
- GitHub Resources
- GitHub - jondot/awesome-react-native Awesome React Native is a curated list of the best React Native libraries, tools, tutorials, articles, and more.
- GitHub - infinitered/ignite Ignite is the most popular boilerplate for React Native apps using Expo and bare React Native, representing over six years of continuous React Native development.
- Blog Posts
Development Environment
Setting Up Android Development Environment on Windows
For Android, the key thing to note is installing Android Studio & Android SDK. Android Studio installs the latest Android SDK by default. Currently, compiling React Native apps requires the Android 13 (Tiramisu) SDK version (note that the SDK version is not the same as the device OS version — RN currently supports Android 5 and above). You can select and install various SDK versions in Android Studio’s SDK Manager.
1. Install Android Studio
Download and install Android Studio. During the Android Studio installation wizard, make sure the boxes next to all of the following items are checked:
Android SDKAndroid SDK PlatformAndroid Virtual Device- If you are not already using Hyper-V:
Performance (Intel ® HAXM)(For AMD or Hyper-V, see here)
2. Install Android SDK
Android Studio installs the latest Android SDK by default. Building a React Native app with native code requires the Android 13 (Tiramisu) SDK in particular. Additional Android SDKs can be installed through the SDK Manager in Android Studio.
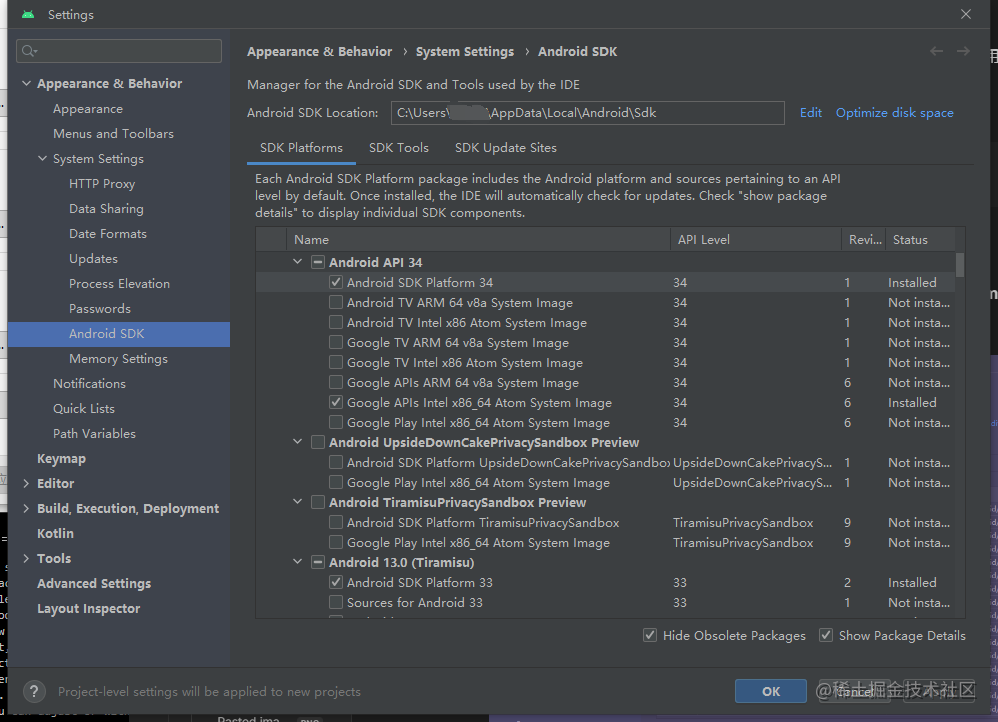
- Open Android Studio, click the “More Actions” button and select “SDK Manager”.
- Select the “SDK Platforms” tab from within the SDK Manager, then check the box next to “Show Package Details” in the bottom right corner. Look for and expand the
Android 13 (Tiramisu)entry, then make sure the following items are checked:
Android SDK Platform 33Intel x86 Atom_64 System ImageorGoogle APIs Intel x86 Atom System Image
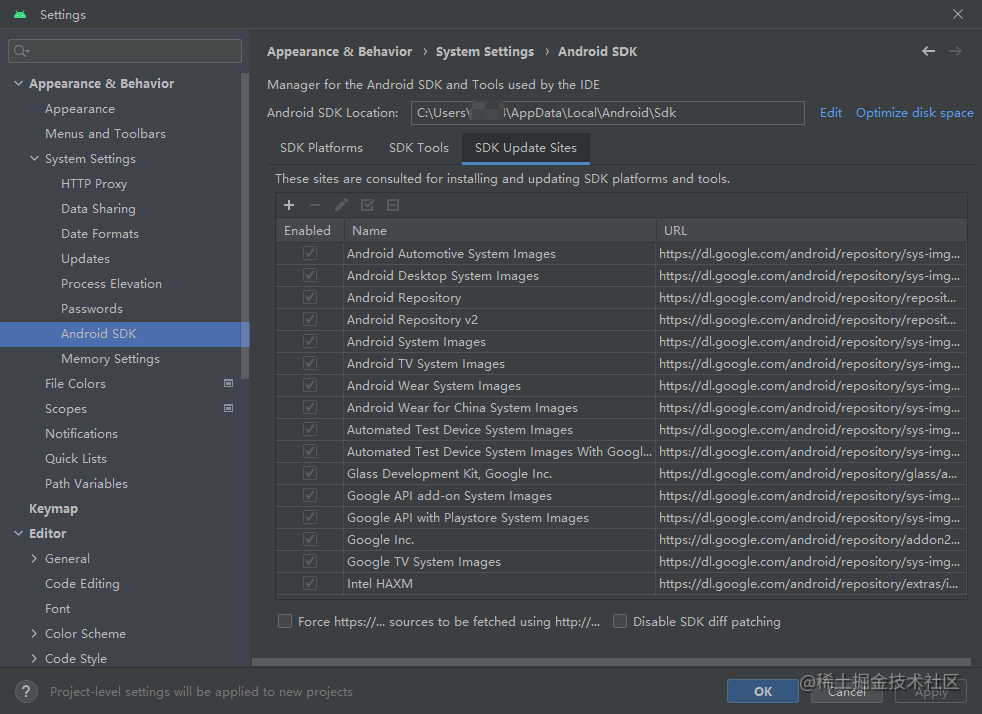
- Next, select the “SDK Tools” tab and check the box next to “Show Package Details”. Look for and expand the
Android SDK Build-Toolsentry, then make sure33.0.0is selected (PS: it’s now34.0.0) - Configure the
ANDROID_HOMEenvironment variable Go to Advanced System Settings - Environment Variables - Click New… to create a newANDROID_HOMEuser variable, pointing to your Android SDK path:
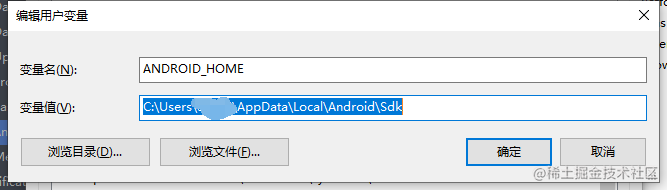
By default, the SDK is installed at the following location:
%LOCALAPPDATA%\Android\Sdke.g., C:\Users\xxxx\AppData\Local\Android\Sdk
You can find the actual location of the SDK in the Android Studio settings under Appearance & Behavior -> System Settings -> Android SDK.
Verify that the environment variable has been added:
- Open PowerShell
- Copy and paste
Get-ChildItem -Path Env:\into PowerShell - Verify that
ANDROID_HOMEhas been added

Using Expo
Why Use Expo?
Expo is a set of tools, libraries, and services that allow you to build native iOS and Android apps by writing JavaScript. In plain terms, it’s an additional layer of abstraction built on top of React Native that makes development more convenient and faster.
- If you have mobile development experience, you’re probably worried about various native features (camera, photo gallery, location, Bluetooth, etc.) before diving into cross-platform development. Using Expo is significantly faster than developing a bare React Native app, and you’ll encounter far fewer pitfalls.
- If you’re a front-end developer without mobile experience, you need this even more — otherwise the hidden limitations and pitfalls of mobile development will give you major headaches. —
<cite>React Native 基于 Expo 开发(一)项目搭建 - 掘金</cite>
Next, we’ll follow the official tutorial to set up an Expo application: Create your first app - Expo Documentation
Initialize an Expo Project
Use create-expo-app to initialize a new Expo application. It’s a command-line tool that creates a new React Native project with the expo package installed.
npx create-expo-app StickerSmash
cd StickerSmash
Download the static assets (images, etc.) needed for the demo project from the official docs, and replace the project’s assets folder: Download assets
Now, let’s open the project directory in our favorite code editor or IDE. In this tutorial, we’ll use VS Code as an example.
Starting the Project
To run the project on the web, we need to install the following dependencies that help run the project on the web:
npx expo install react-dom react-native-web @expo/webpack-configStart the project:
npx expo start| Scan QR code | Successfully launched |
|---|---|
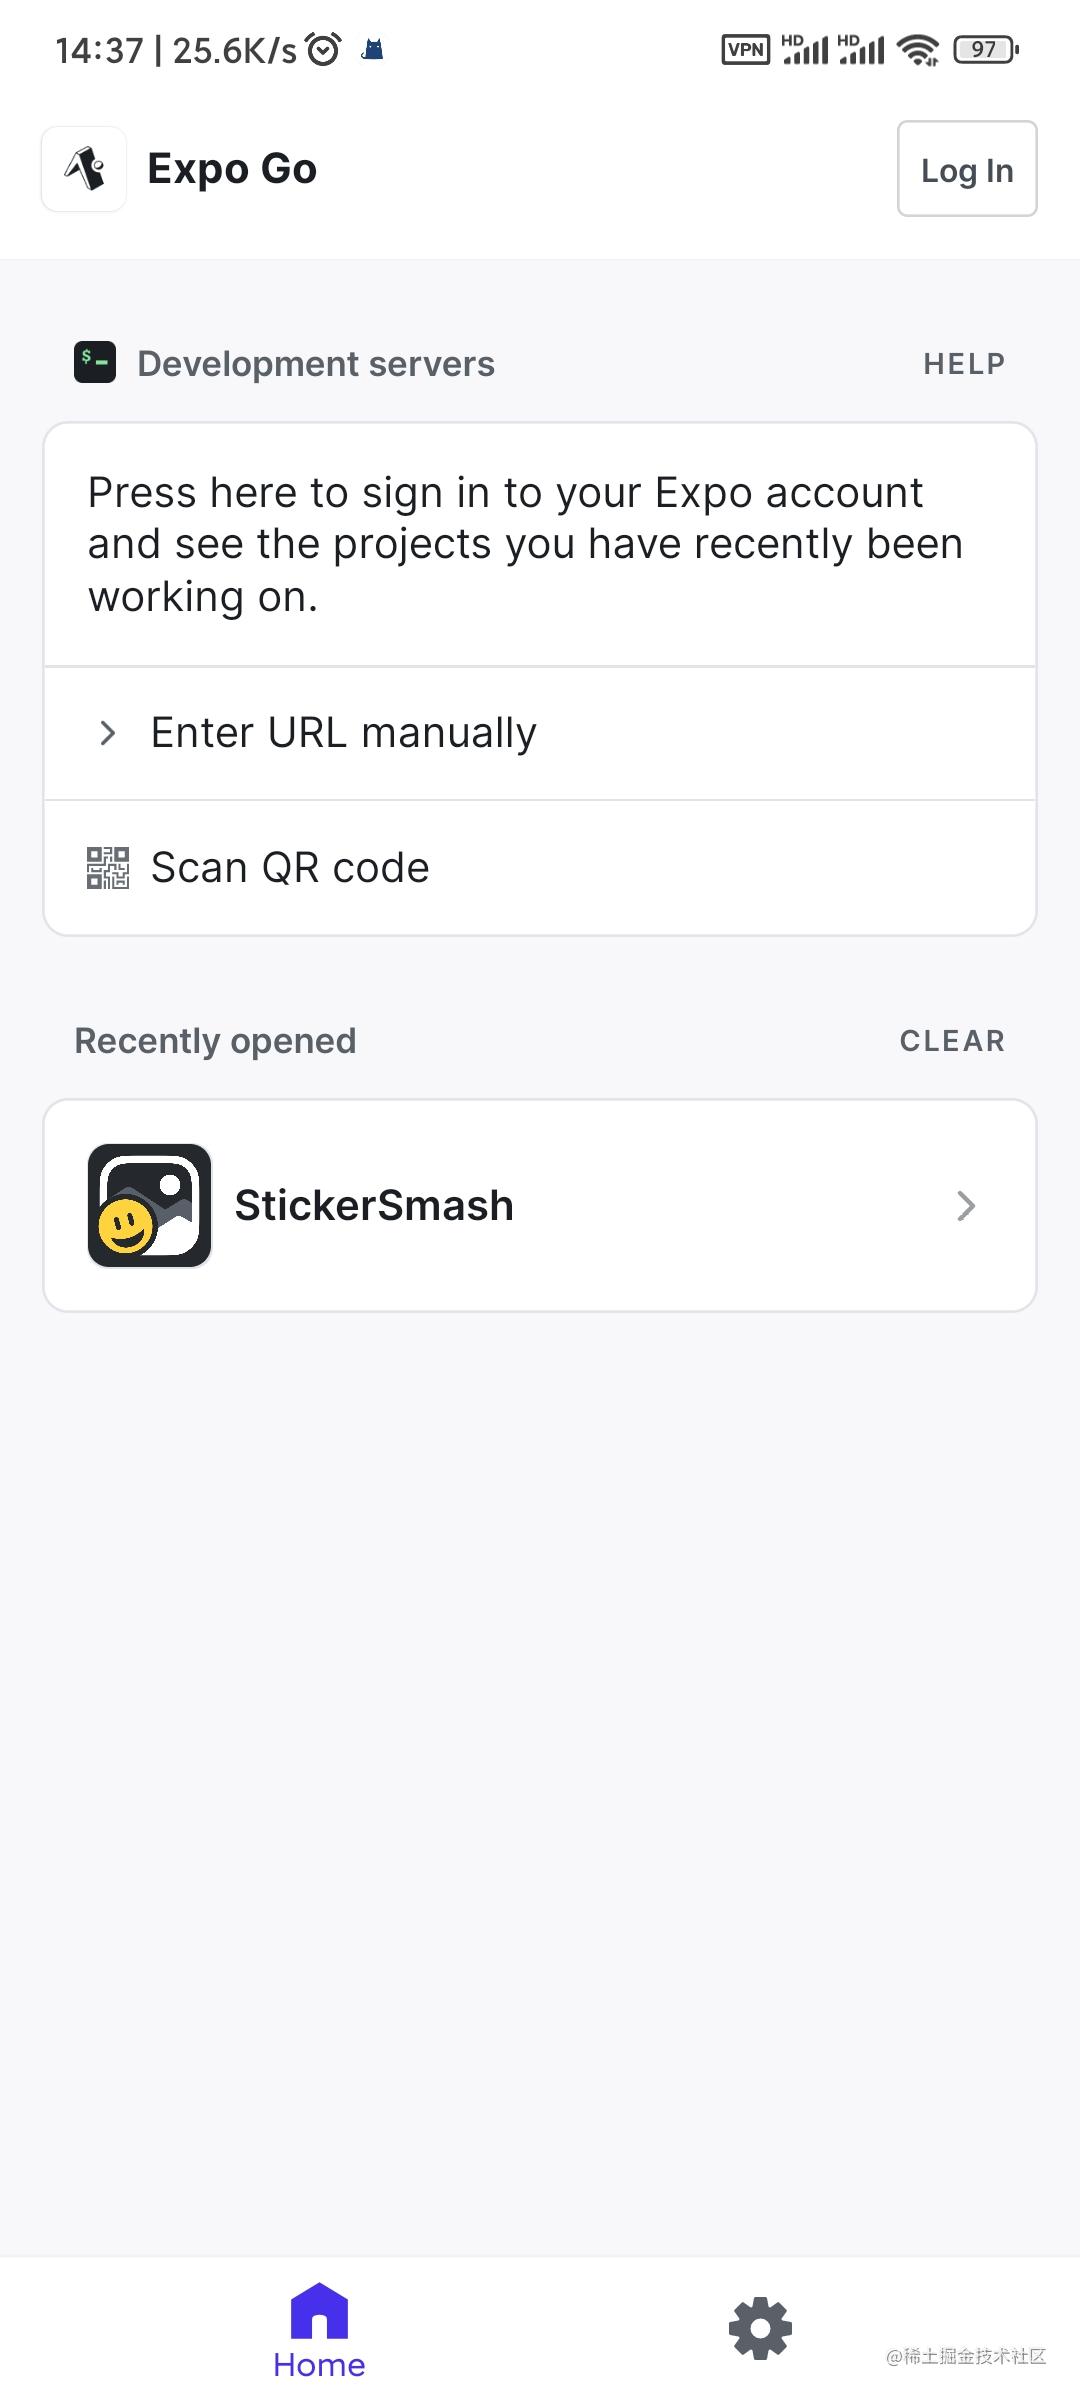 |  |
Expo Recommended Companion Libraries
Here are some libraries officially recommended by Expo to use alongside it:
- Safe area library react-native-safe-area-context
react-native-safe-area-contextprovides a flexible API for accessing device safe area inset information on both Android and iOS. It also provides a SafeAreaView component that you can use instead of View to automatically account for safe areas.
- Animation library react-native-reanimated
- In your Expo project, you can use React Native’s Animated API. However, if you want more advanced animations with better performance, you can use the
react-native-reanimatedlibrary. It provides an API that simplifies the process of creating smooth, powerful, and maintainable animations.
- In your Expo project, you can use React Native’s Animated API. However, if you want more advanced animations with better performance, you can use the
- Data storage Store data - Expo Documentation
expo-secure-storeprovides a way to encrypt and securely store key-value pairs locally on the device.
There are other recommended libraries as well. You can check them out here:
开始使用 React Native 和 Expo SDK - 掘金
- AppAuth, AuthSession: Authenticate users via OAuth
- SplashScreen: Create a splash screen when launching the app (official docs)
- localization: Manage your app’s l10n/i18n for localization purposes
- AppLoading: Load assets, fonts, etc.
- MapView: Use maps in your app
- ImagePicker or ImageManipulator: Open images or videos from the device
- Sharing: Share data between apps and devices
- SecureStore: Save data on the device storage
- Camera: Take photos and videos using the device’s camera
- Notifications: Push notifications from Expo’s push service
喜欢的话,留下你的评论吧~